How to use the Adapter for RAPIRO to connect the Raspberry Pi 2 Model B
RAPIRO, as it is, supports Raspberry PI Model B, however it does not support Raspberry PI Model B.
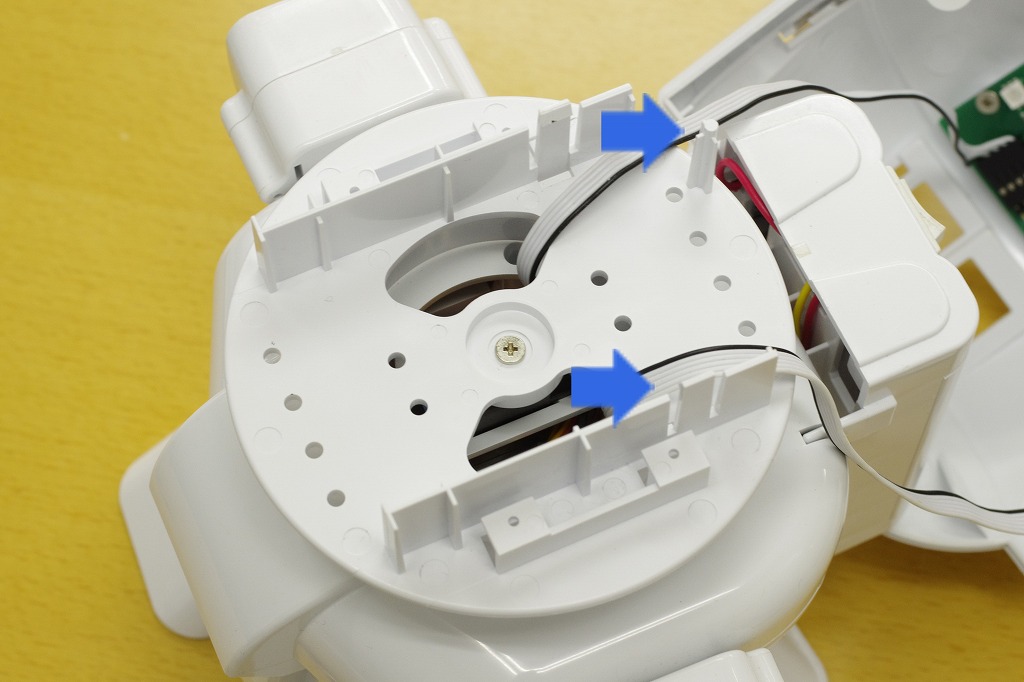
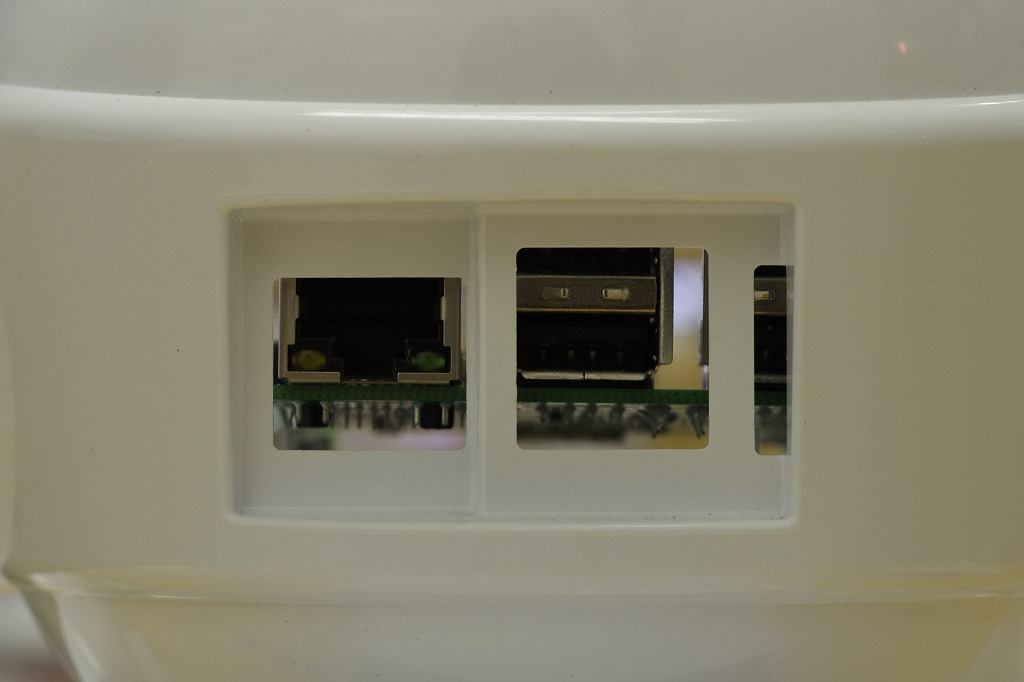
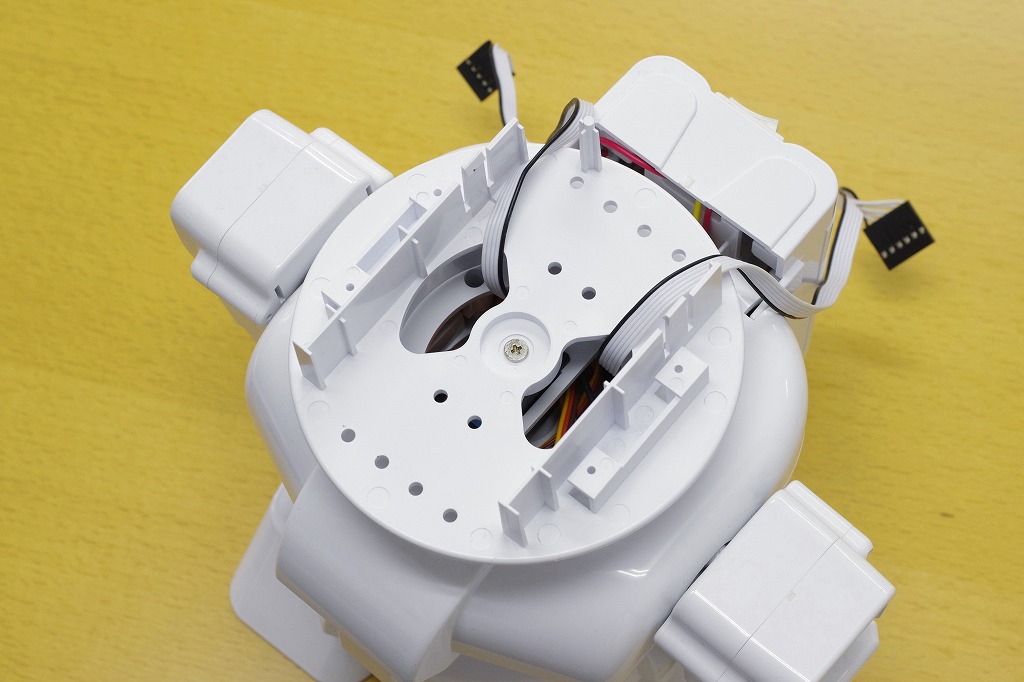
If you try to fit the Raspberry PI 2 Model B into RAPIRO straight from the box, the pins are in the way and will not fit properly, shown below on the left. Also, since the window for the USB was designed for Raspberry PI Model B, the USB ports will not be accessible as shown below on the right.
In order to make it compatible, RAPIRO Raspberry PI 2 Model B attachment will be used.
The adapter is made up of 1 circular plastic part, 4 x M2.6 x 6mm spacers, 8x M2.6 x 4mm plastic screw.
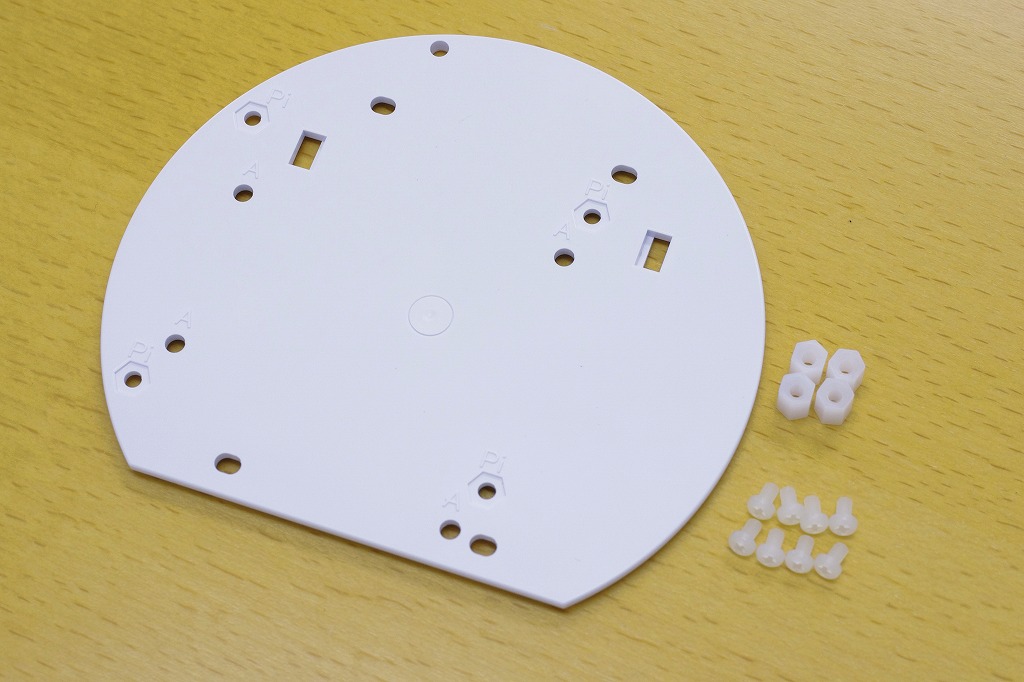
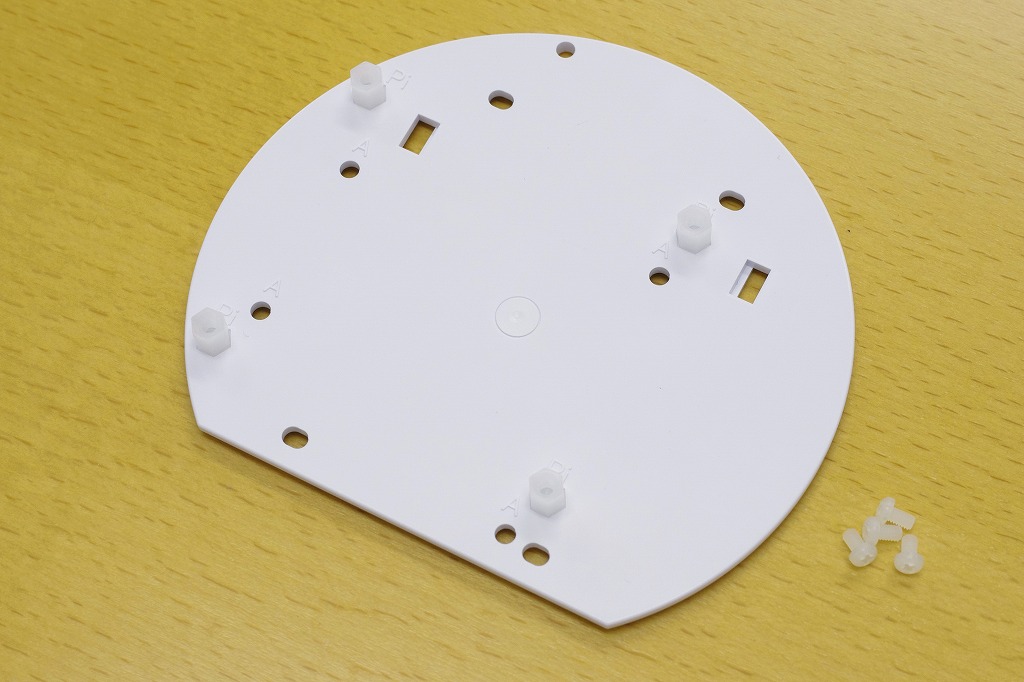
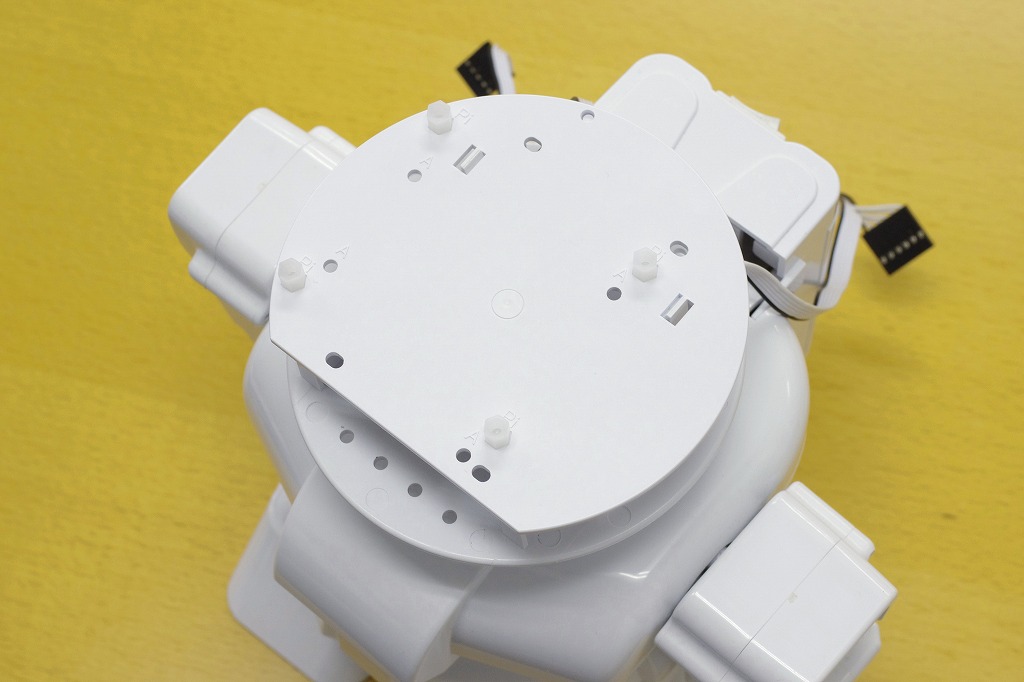
To start the assembly process, put the spacers in the holes labeled as Pi, screwing it into place using the plastic screws.
Attach the attachment to the RAPIRO neck piece. Use the rectangular holes and place them through the parts on the neck piece as seen below.

On top of this, place the Raspberry Pi Model B+ or Raspberry Pi 2 Model B and secure it in place using the plastic screw.
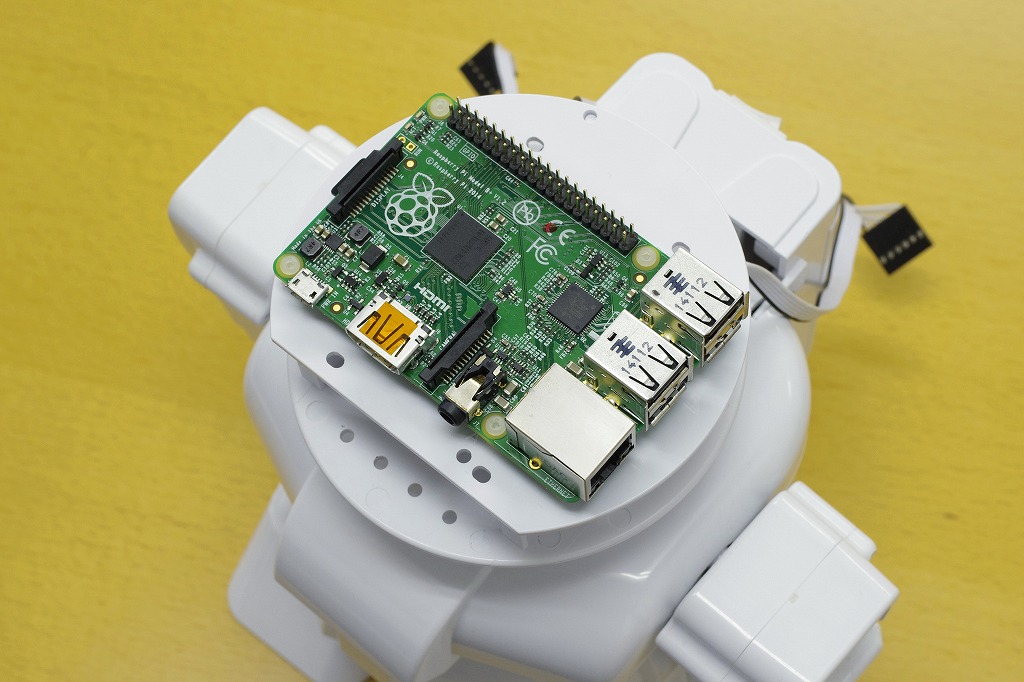
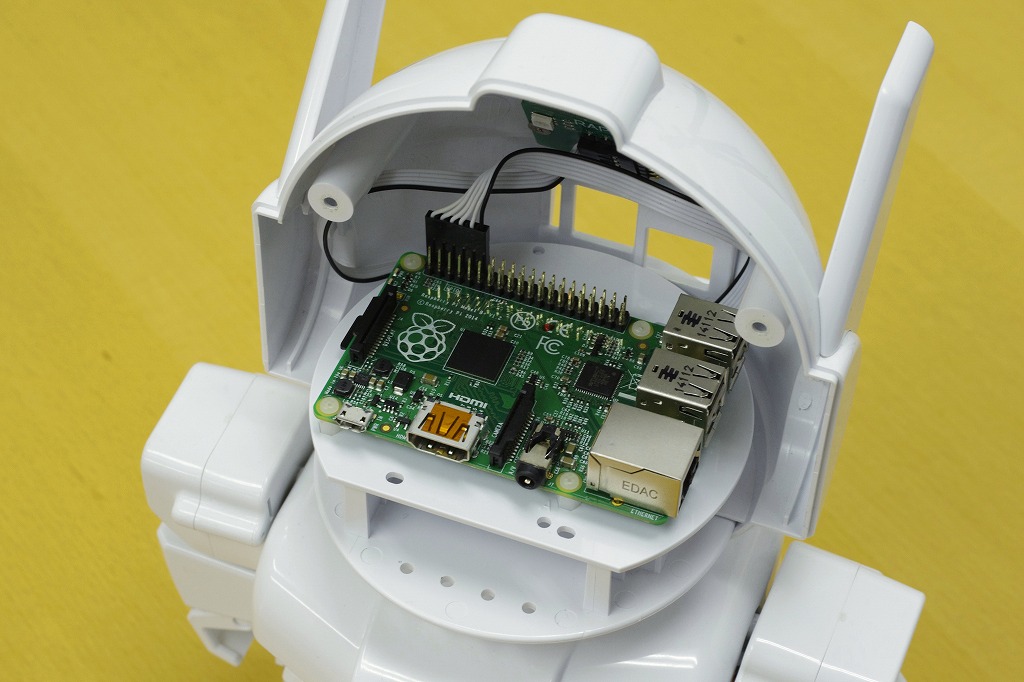
There is a small space between the USB port and the RAPIRO head piece, so it is possible to fit a USB WiFi piece with a small head on the Raspberry Pi.
With this, now you can use the Raspberry Pi 2 Model B to control RAPIRO. (The picture shows the Model B+)
But, since the board is higher, you can see the shadow of the board through the eye piece of the RAPIRO. If this bothers you, it may be possible to position the LED piece in a way where the shadow will not show up.